So for my sons birthday he wanted a horse cake. I pulled up some images on Google for him and after eliminating all the hard ones for him because I am no professional, he basically got to choose from 2 simpler cakes, a full body horse, or a horse head. He chose the full body horse. Since it is actually a cake pan that I don't have and didn't care to buy, I improvised.
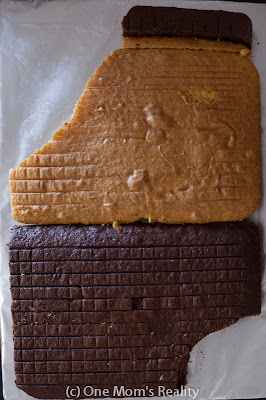
I made two 9x13 cakes, one white and one chocolate, the night before I decorated them.
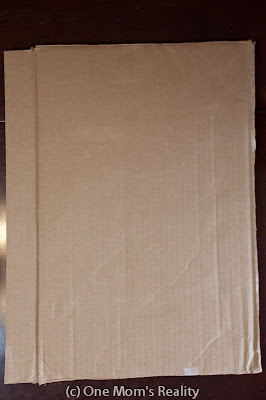
For my base/cake board, I cut some cardboard boxes up to give me two layers big and strong enough to hold the 2 cakes.
I drew a horse similar to the one from the picture seen online (and don't laugh because I am no artist!) using two plain pieces of standard size copy paper taped together. (I made sure my 'cake board' was bigger then my drawing)
I then used handy dandy tinfoil to wrap the cardboard and fancy it up :)
I just taped it to the back like this...nothing to fancy but also it didn't require going out and purchasing anything!
I used wax paper as a template to transfer my drawing onto the cake (since drawing it a second time would be near impossible since you can't erase on frosting!!)
I just laid the wax paper on top then used a black marker to trace the main lines needed.
I then laid my two cakes on the board and cut them to give some shape and then also because my drawing was just a little taller then my cake I needed to add some length by using the scraps I just cut off (like I said not professional but easy)
I then made some chocolate frosting and covered the cake.
I also used a scrap piece to create a horseshoe for a spot to put his name and age since I didn't feel like making cupcakes like the cake online had.
I overlaid my wax paper template then used a tooth pick to indent the lines (I just traced the line with the toothpick and it did the trick!)
I then created some black frosting using my extra chocolate frosting and using a size 6 circle tip outlined the horse and filled in the hooves. I used a Wilton 21 tip to create the main and tail. Then I made some red frosting (because my son wanted a red horse but settled for red accents!!) to give the horse a halter and then to border the cakes and write his name and age.
It was pretty easy (and has lots of imperfections just like me;)) and the best part was that he loved it and it fed all of our guests with a little to much to spare!


I love the cake. you did a great job.
ReplyDelete